Bot
Introduction
The Bot Creation feature is designed to help you effortlessly create and manage new bots within your application. This functionality is valuable for users looking to expand their toolset and automate tasks by creating bots. It simplifies the process of adding new tools, customizing their settings, and ensuring they are accessible to the right users. Use this feature whenever you need to create a new tool or bot for your team or personal use.
Getting Started
To begin using the Bot Creation feature, navigate to the URL: https://sai-library.saiapplications.com/designer. Ensure your application is running and accessible through this URL.
Procedure
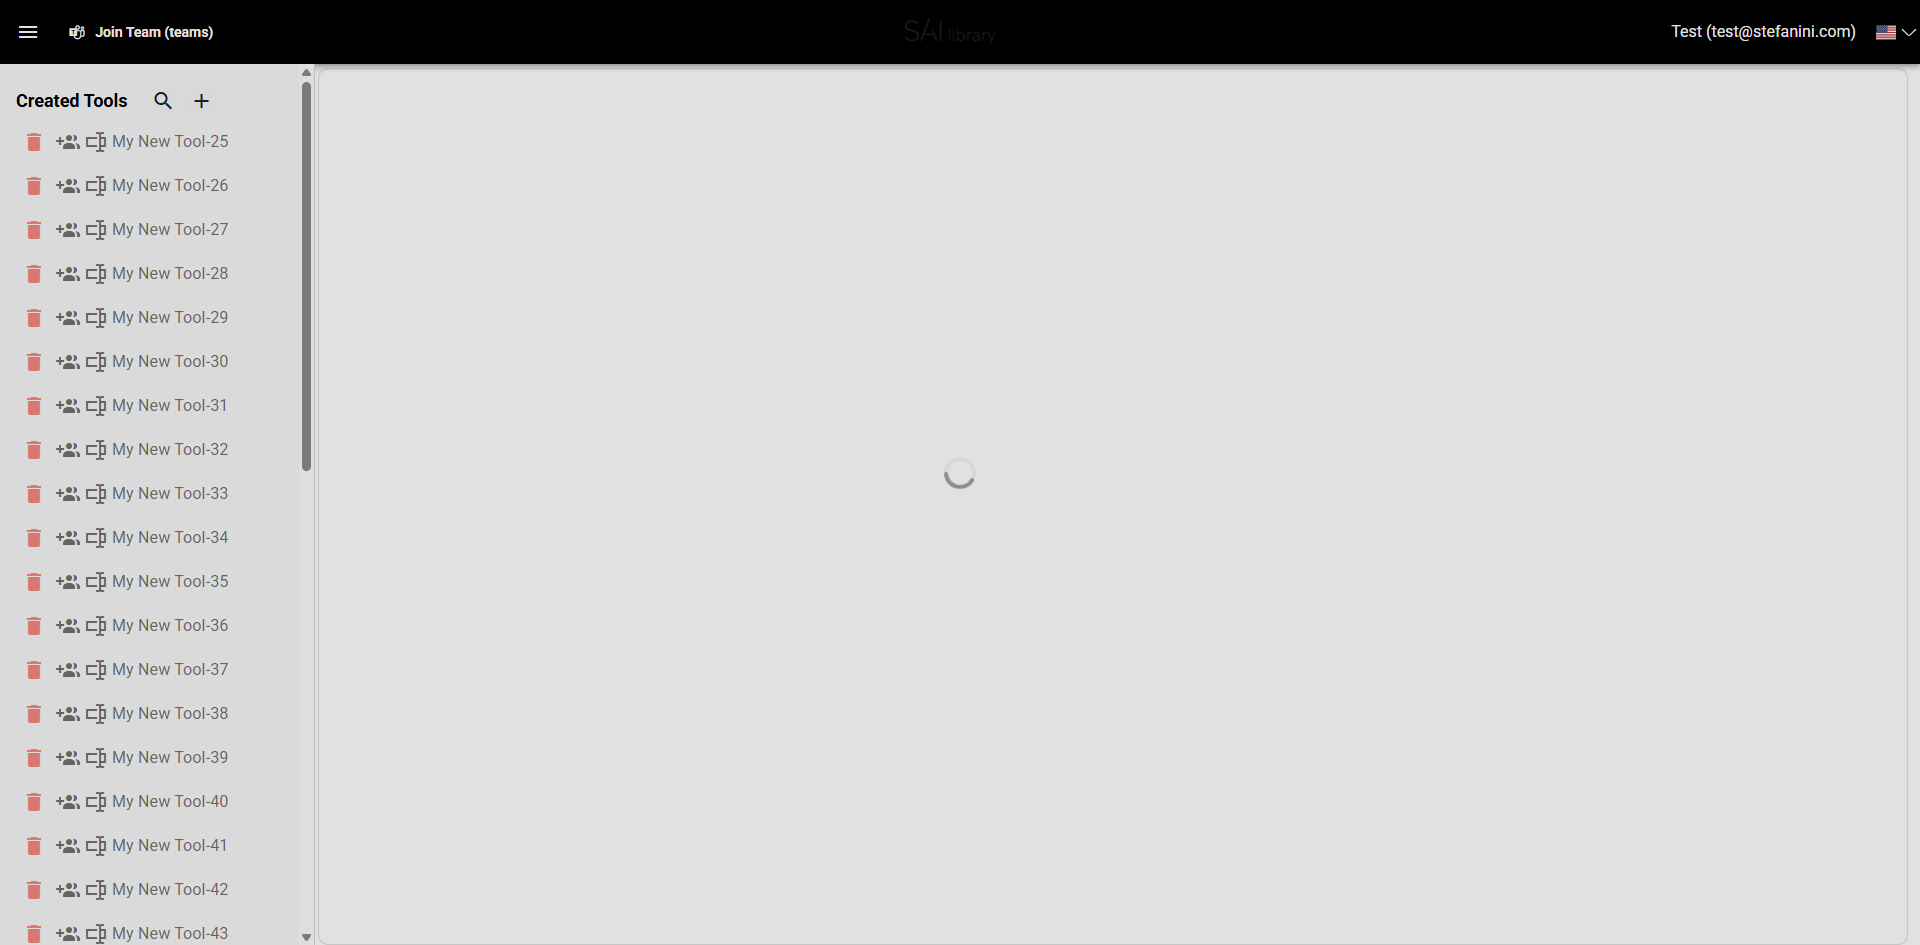
Step 1: Access the New Tool Option
Start by clicking on the add tool button. This initiates the process of creating a new tool.
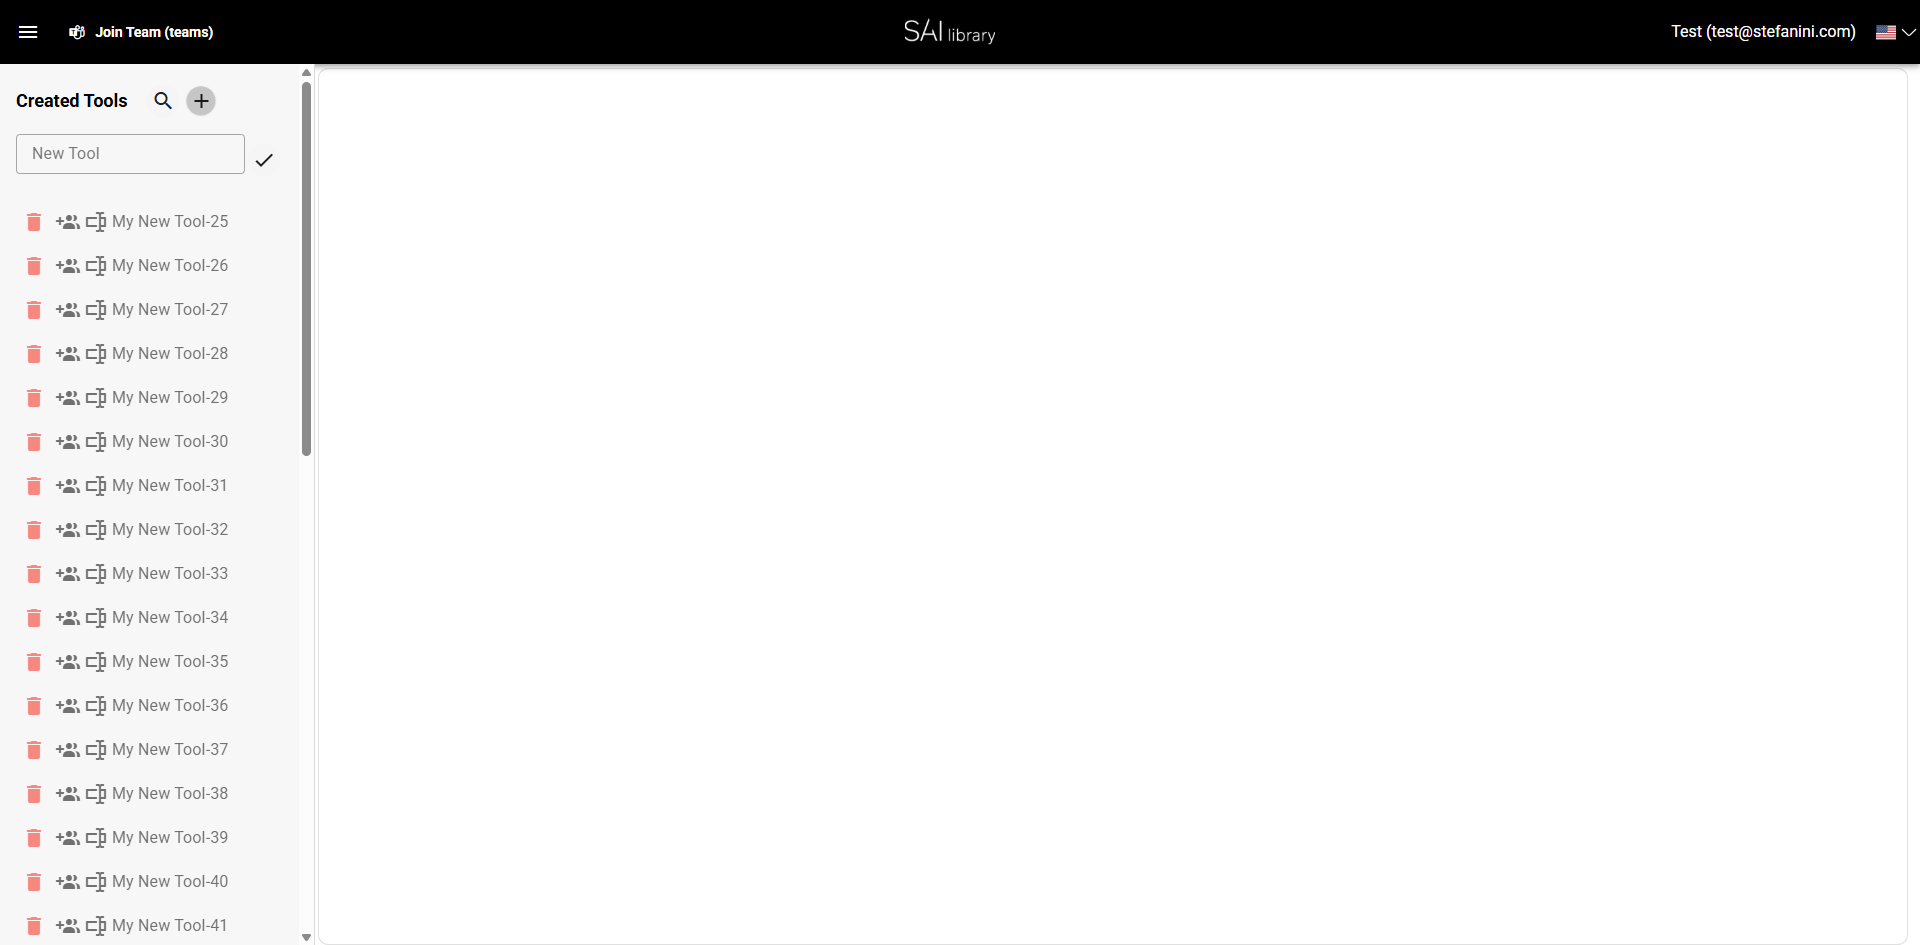
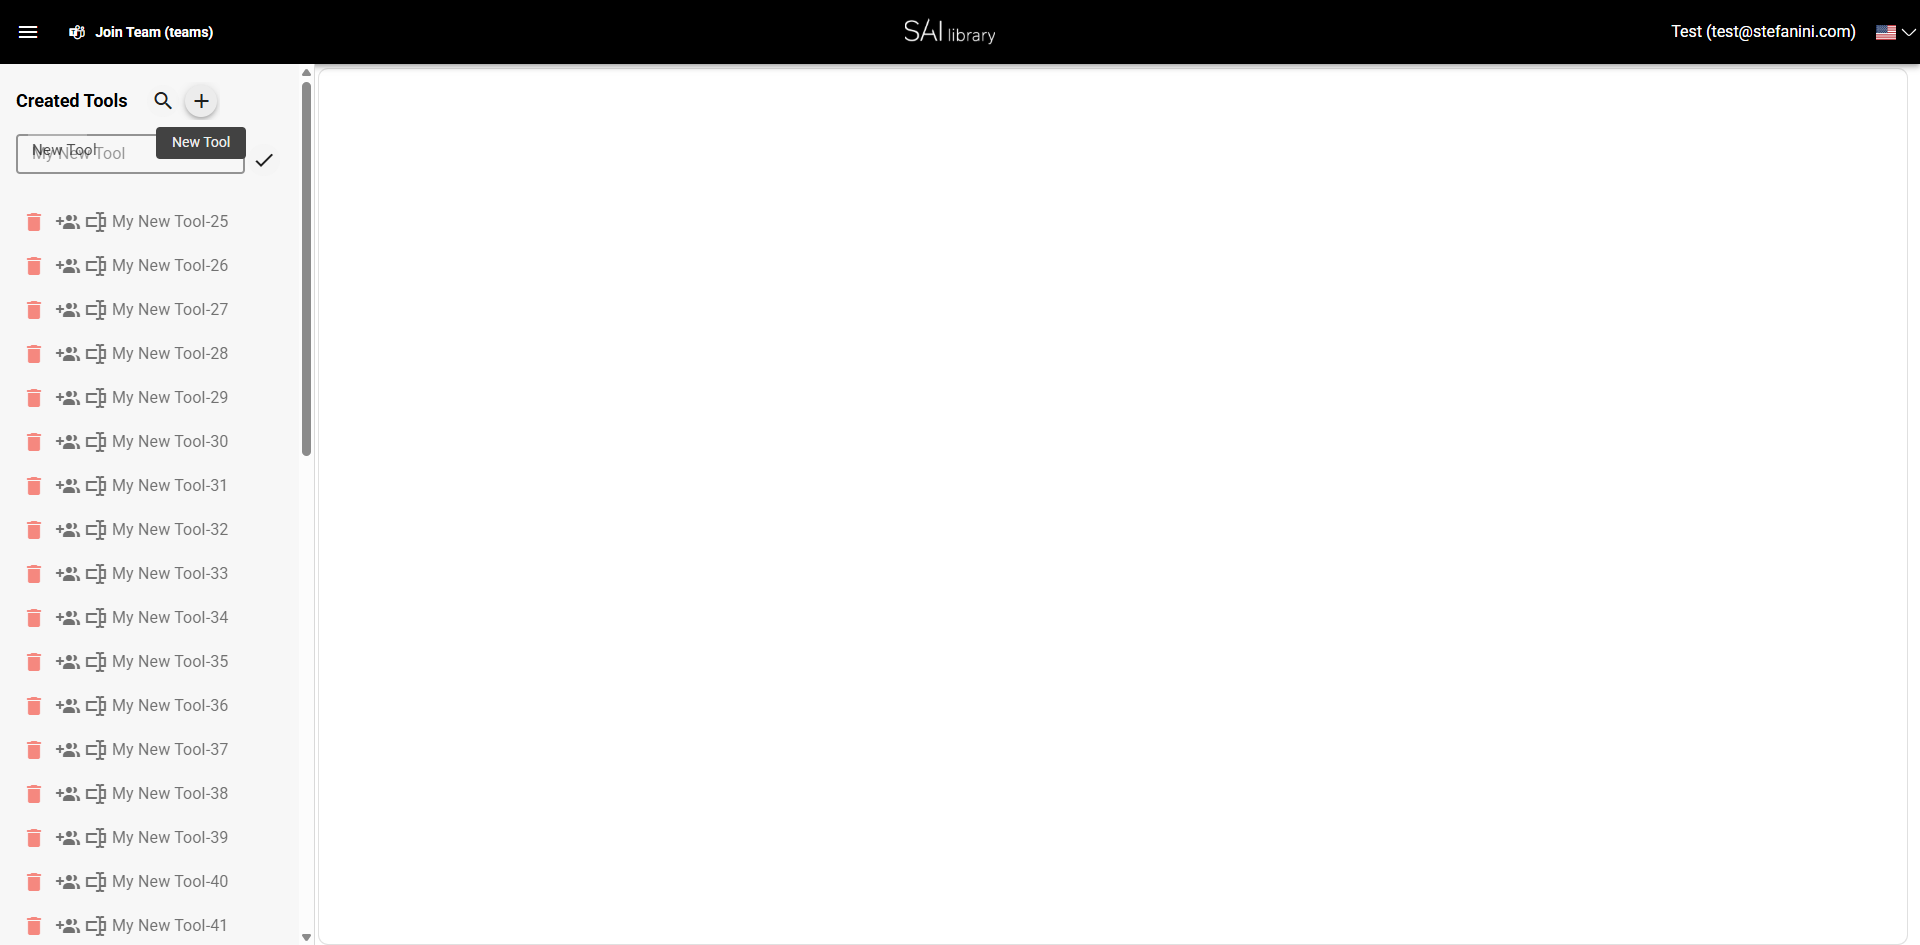
Step 2: Enter Tool Name
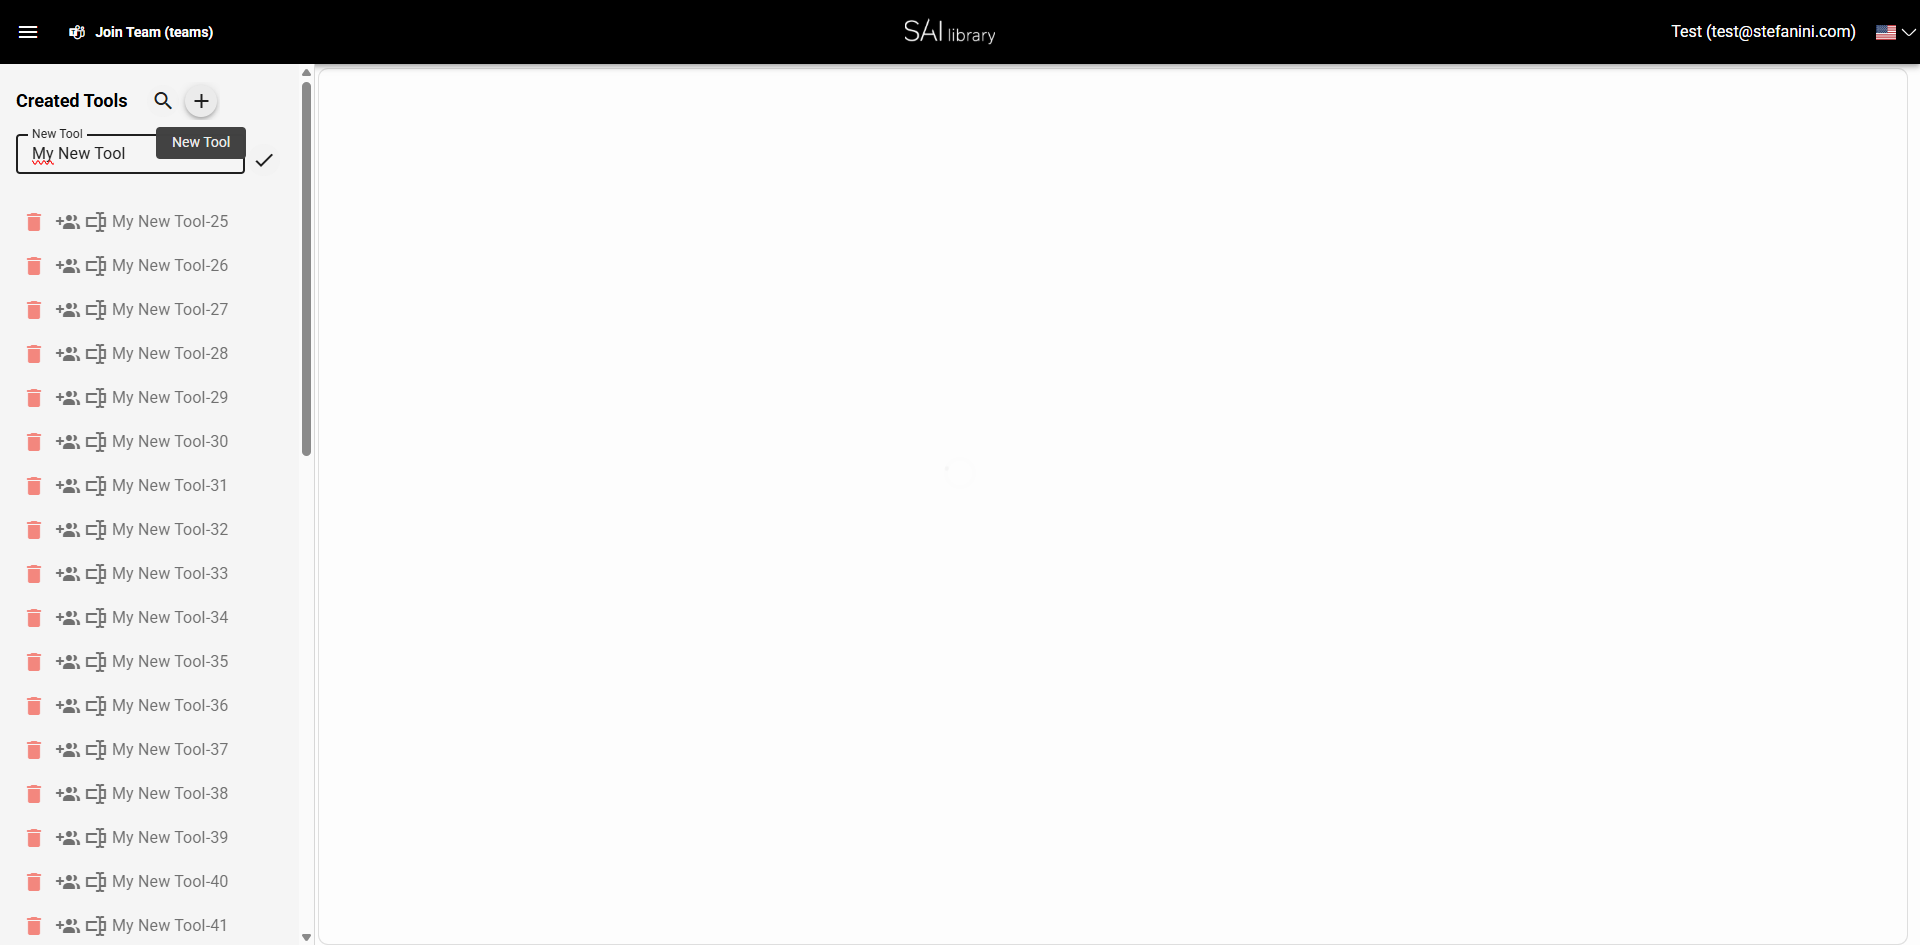
In the visible text input field, type the name for your new tool, such as "My New Tool". This step is crucial for identifying your tool later.
Step 3: Confirm Tool Name
Click the confirm button to save the tool name you entered.
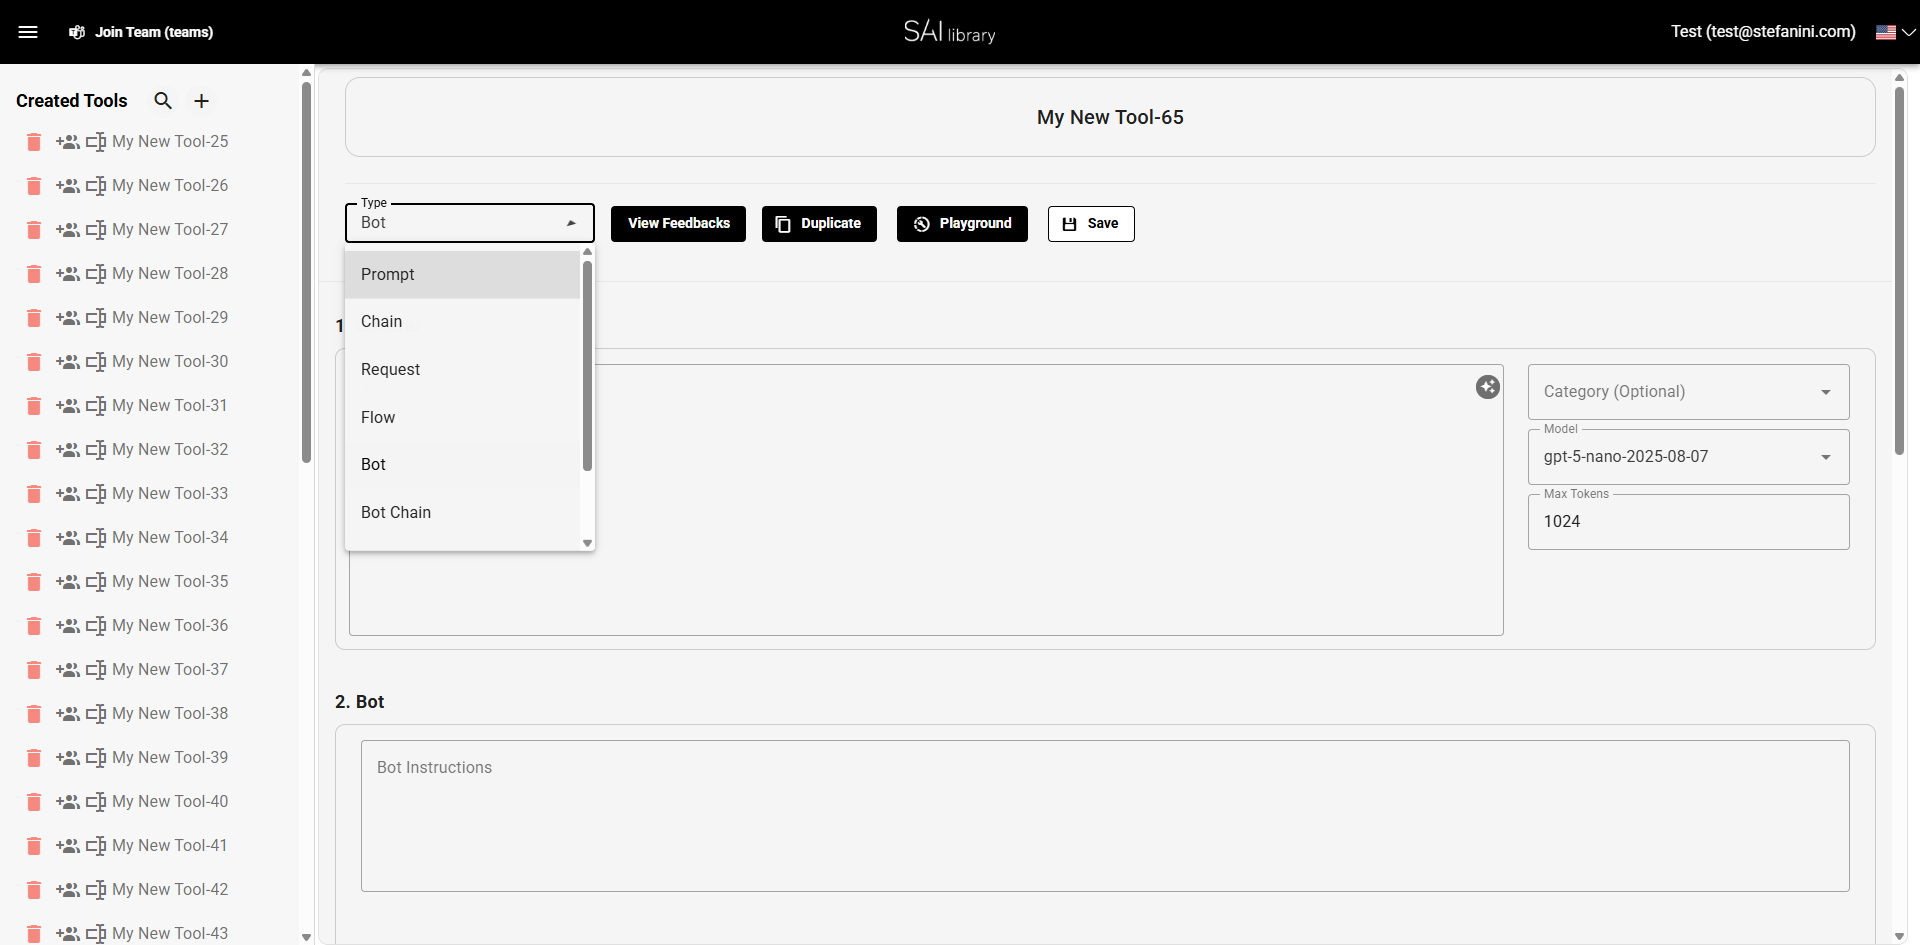
Step 4: Select Template Type
Click on the select type and choose the option "Bot". This selection defines the tool's purpose and functionality.
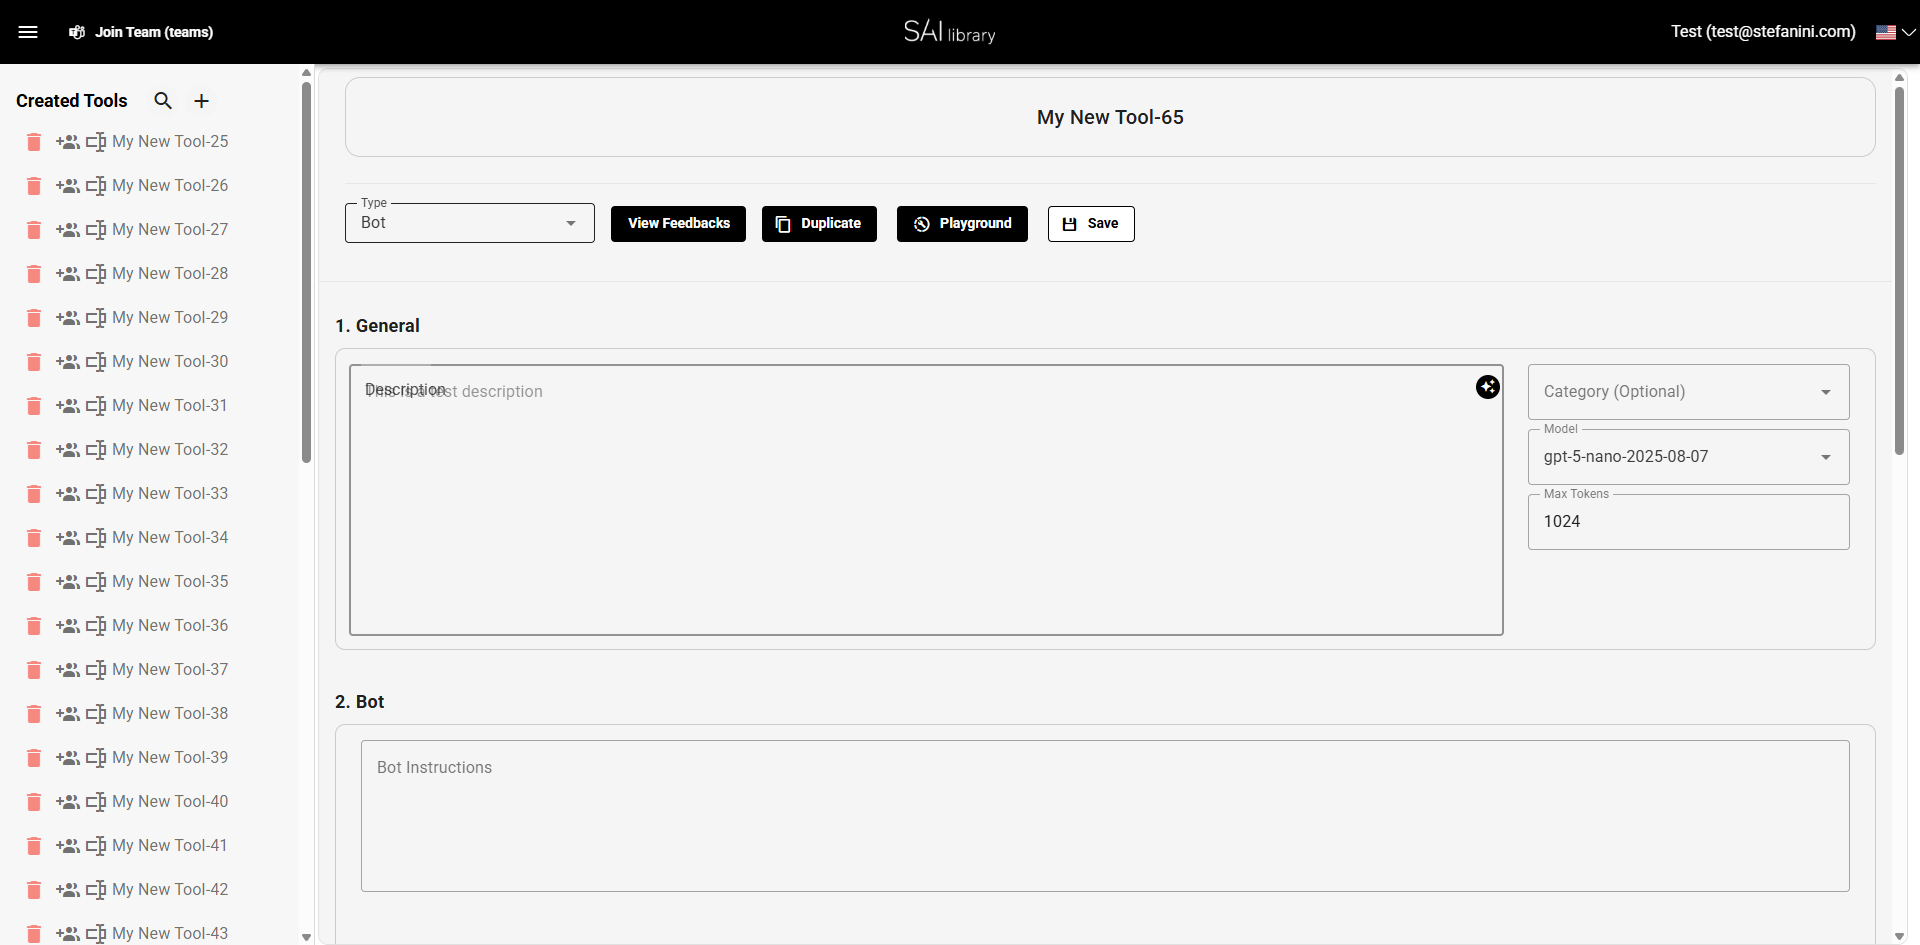
Step 5: Add Description
Type "This is a test description" in the Description field. This description provides context and helps others understand the tool's function.
Reviewing and Configuring Sections
Step 6: Review General Section
In the General section, you can view and modify the tool's basic settings:
- Description: Enter details about the tool's purpose.
- Category (Optional): Categorize the tool for better organization.
- Model: Select the AI model, e.g.,
gpt-5-nano-2025-08-07. - Max Tokens: Define the limit for processing tokens.
Step 7: Configure Bot Section
In the Bot section, configure the bot's instructions and enable advanced features. This section is crucial for defining your bot's behavior and capabilities.
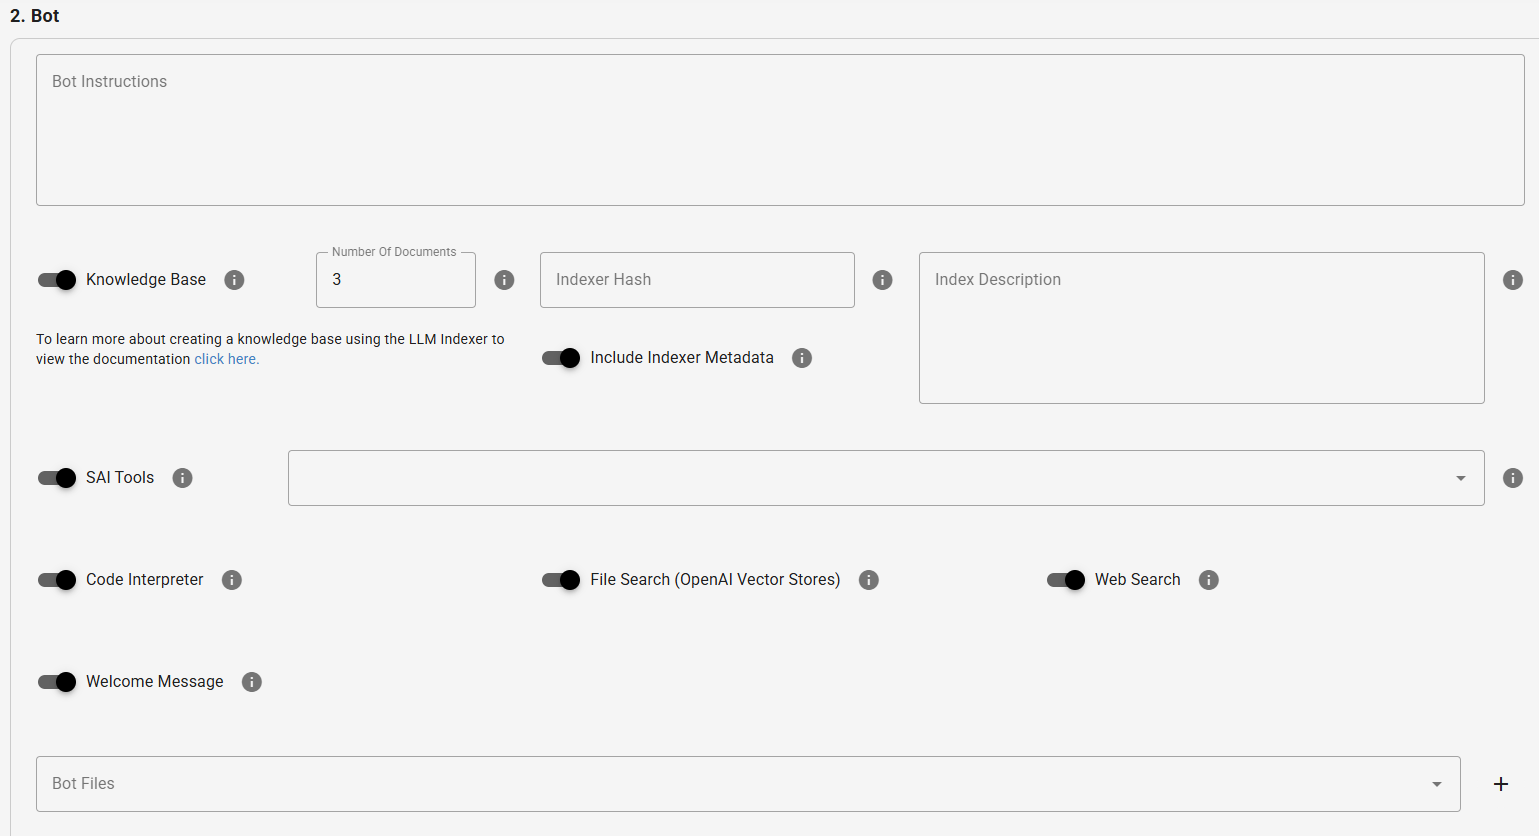
🔧 Bot Instructions
Main text that defines the bot's behavior. Here you describe personality, objectives, limitations, response style, and general rules that the bot should follow throughout execution.
📚 Knowledge Base
Activates the use of documents to create a permanent knowledge base for the bot.
- Number of Documents: Maximum number of files that will be indexed.
- Indexer Hash: Unique identifier generated by the indexer. Prevents unnecessary recreation and ensures consistency.
- Index Description: Human-readable description explaining the purpose and content of the indexed base.
- Include Indexer Metadata: When enabled, inserts additional information useful for debugging and auditing into the index.
🔨 SAI Tools
Allows integration with SAI Library tools. When selected, the bot gains access to external functionalities such as automations, prompt generation, workflow execution, and ready-made integrations.
🧮 Code Interpreter
Enables code execution within the bot environment. Useful for calculations, analysis, charts, conversions, and other dynamic processes.
🔍 File Search (OpenAI Vector Stores)
Enables reading and vector search in uploaded files or stored in a Vector Store. Ideal for querying long documents or specific information banks.
🌐 Web Search
Allows the bot to consult the internet for updated information. Useful when the model's knowledge is insufficient or recent data is needed.
👋 Welcome Message
Configures an automatic initial message, sent as soon as the user opens the chat. Helps guide usage and reinforces the bot's purpose from the first contact.
📂 Bot Files
Space to upload files that the bot can access directly without additional indexing. These files can assist with instructions, tests, or specific behaviors.
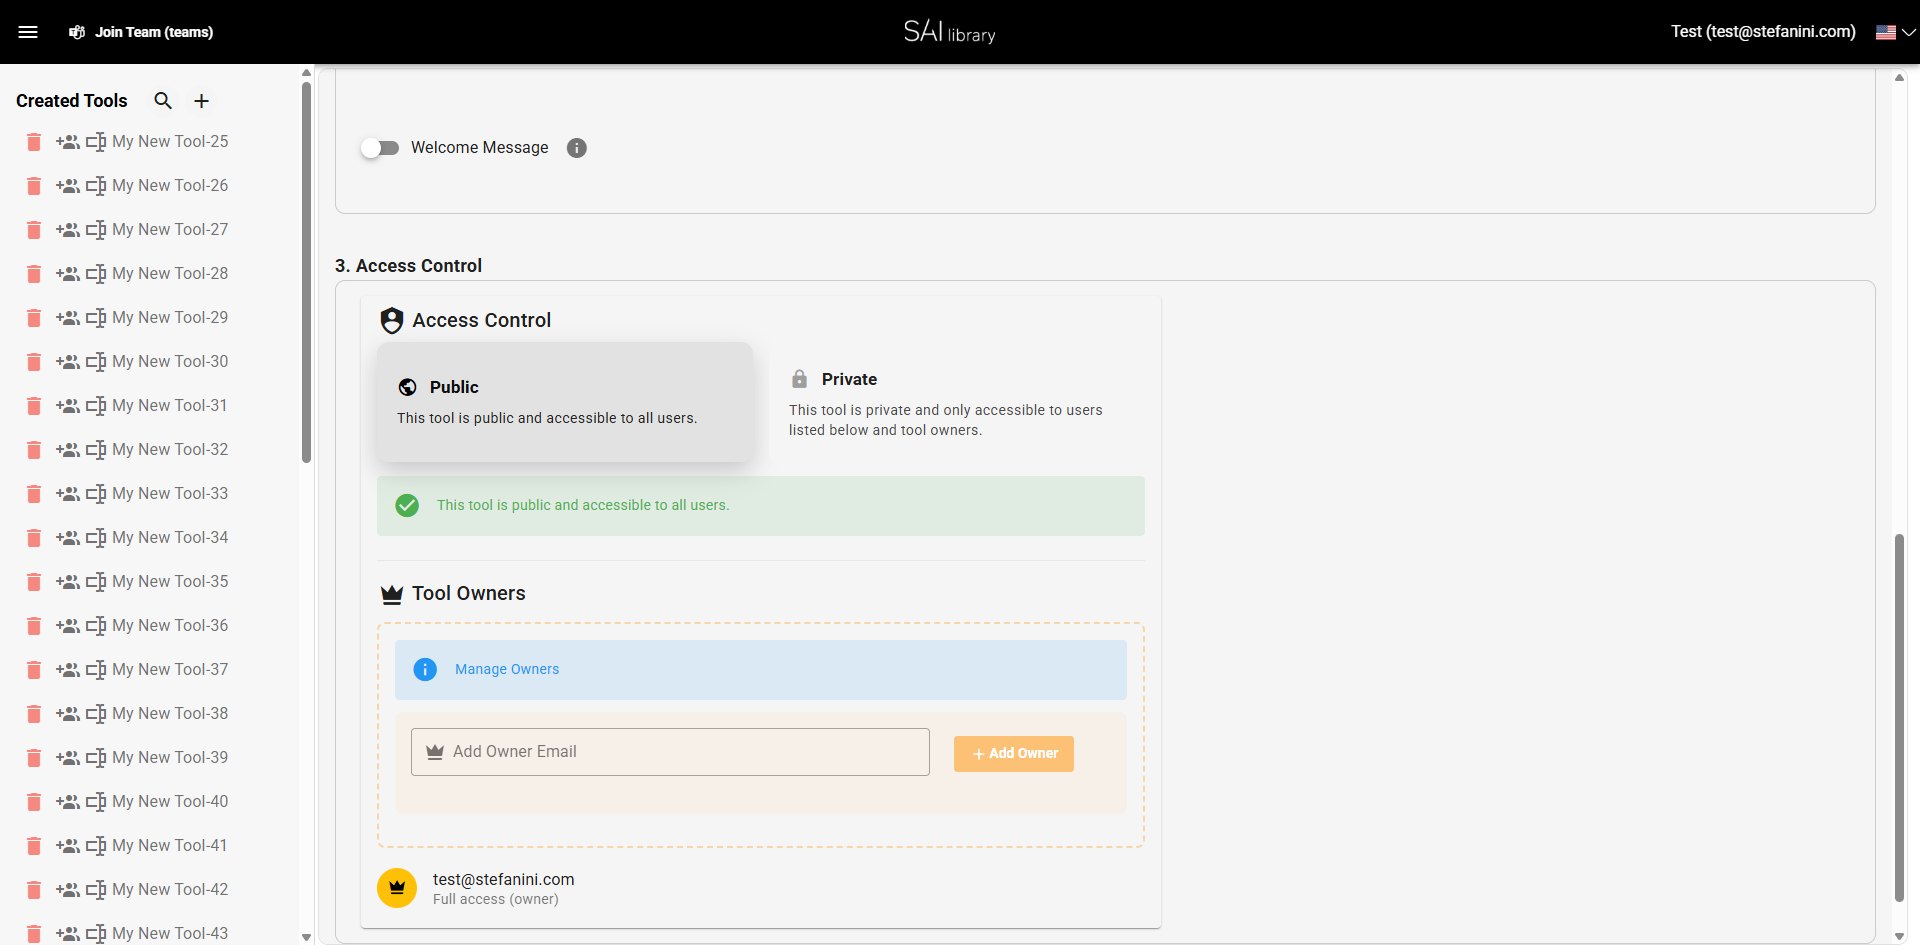
Step 8: Access Control Settings
In the Access Control section, manage who can access the tool:
- Public: Make the tool accessible to all users.
- Private: Restrict access to selected users and owners.
- Manage Owners: Add or remove tool owners.
Result
Upon completing these steps, you will have successfully created a new tool named "My New Tool" with the desired configurations. The tool is now ready for use, and you can manage its accessibility and settings as needed.